
Blog
Blog
April 01, 2026
When it comes to enhancing the durability and aesthetics of your woodworking projects, ABS Edge Banding stands out as an optimal choice. Whether you’re a novice or a seasoned craftsman, understanding the selection and application of ABS edge banding is crucial for achieving professional results. This guide will walk you through the comprehensive process, ensuring you have the right strategies to implement this technique effectively.
Start by selecting high-quality ABS edge banding, like those offered by Chimeda. To achieve the best results, consider a few critical factors:
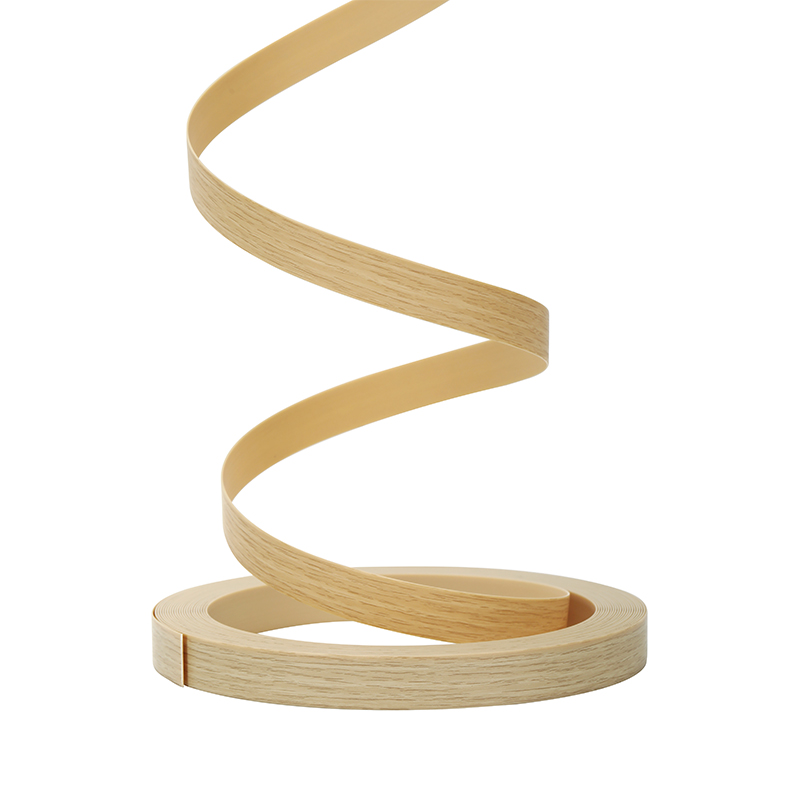
Thickness and Width: Choose banding that matches the thickness of your substrate. Most commonly, ABS edge banding comes in widths of 1mm to 3mm and can be precisely matched to your material.
Color and Texture: Select colors that complement your laminate or wood finish. For example, a smooth finish works well for a modern aesthetic, whereas a textured surface might suit rustic designs.
Adhesive Type: Look for premade banding with hot melt or pressure-sensitive adhesives. These ensure a secure bond, essential for longevity.
Having selected the right materials, let’s move on to the application process, which I’ve outlined step-by-step for clarity.
Ensure that the surface you plan to edge is clean and free of dust or debris. A smooth, well-sanded edge will result in better adhesion.
Carefully measure the length needed for your edges. Cut the ABS edge banding slightly longer than necessary to allow for trimming later—precision is key, with a tolerance of 0.01mm being optimal to avoid gaps.
For ABS edge banding with hot melt adhesive, a specialized edge bander or a household iron can be used. Set the iron to a low-heat setting and gently press the banding onto the edge. Ensure even heating for a consistent bond.
Apply pressure to the banding for a few seconds to ensure a strong bond. Using clamps or applying hand pressure can yield excellent results.
Once the adhesive has cooled and cured, trim the excess banding flush with the surface. A sharp utility knife or trimmer can achieve clean, precise cuts.
To achieve a seamless look, lightly sand the edges using fine-grit sandpaper (e.g., 220 grit) and then polish to match the finish of your surface.
It’s crucial to pay attention to the following considerations throughout the process:
Despite best efforts, you may encounter challenges like bubbling or misalignment. Here’s how to tackle them:
Consider the case of a small furniture business that upgraded to ABS edge banding. By consistently applying the principles outlined above, they saw a reduction in customer complaints by 30% and received positive feedback on the aesthetics of their pieces. This just goes to show that following best practices leads to tangible improvements in your projects.
In terms of practical tools, consider investing in an edge banding trimmer or a quality hot air tool, which can streamline the application process and enhance accuracy.
In this ultimate guide to ABS edge banding selection and application, I’ve provided a structured pathway for both beginners and experienced users to achieve optimal results. Selecting the right materials from reputable brands like Chimeda and adhering to defined application processes ensures both durability and beauty in your woodworking projects.
Remember to keep in mind essential considerations, tackle challenges head-on, and utilize the success stories of others to inspire your own journey in woodworking. By thoroughly implementing these strategies, you're not just applying edge banding; you're elevating the quality and professionalism of your work.
Explore more about ABS edge banding at Chimeda, and start your transformative woodworking journey today!


July 09, 2026
Thick Edge Banding vs Thin Edge Banding
July 08, 2026
Tips for Installing High Gloss Edge Banding Smoothly
July 02, 2026
Energy Efficient Weatherstripping Systems for Doors and Windows
July 01, 2026
What Is Furniture PVC Edge Banding and Why Is It Important?
June 30, 2026
How to Choose Cabinet PVC Edge Banding for Kitchen Furniture
June 25, 2026
Why Chimeda is Your Trusted Edge Banding Manufacturer?
June 23, 2026
Why Table PVC Edge Banding Improves Furniture Durability
June 18, 2026
How to Match ABS Edge Banding Color?
June 16, 2026
PVC Edge Banding Guide: Types, Applications, and Benefits
June 15, 2026
Weather Strip Buying Guide

