Blog
Blog
July 24, 2026
When it comes to enhancing the aesthetics and durability of furniture, PVC edge banding is a popular choice among manufacturers and DIY enthusiasts alike. However, many users encounter issues such as poor adhesion, uneven applications, and frayed edges during installation. By following guidelines from reliable PVC edge banding suppliers like chimeda, you can efficiently resolve these common problems and achieve a flawless finish. This article will delve into valuable tips for PVC edge banding installation that can save you time and improve your project's overall look.
Why it’s important: The choice of adhesive is crucial for the long-lasting performance of PVC edge banding.
Operation method: Use a hot melt glue or contact adhesive that is specifically formulated for PVC materials. These adhesives can offer a bond strength of over 1,200 psi (pounds per square inch) after curing, ensuring durability.
This technique is suitable for environments where the furniture will experience frequent use, such as kitchens or offices.
Key point: Selecting the correct adhesive can significantly reduce the chance of delamination and improve the overall quality of the edge banding.
Why preparation matters: An uneven or dirty surface can lead to poor adhesion and an unprofessional appearance.
Operation method: Ensure that the edge of the material is smooth and clean. Use sandpaper or a router to achieve a flat edge, and wipe it down with a clean, dry cloth to remove any dust or grease.
This method is especially beneficial for users working with laminate or MDF surfaces, which can often contain residues that affect adhesion.
Key point: Proper surface preparation can increase adhesion success rates to over 90%, enhancing the durability of the edge banding.
Why trimming is essential: A clean cut enhances appearance and functionality, preventing the edge banding from lifting.
Operation method: After applying the edge banding, use a specialized edge banding trimmer that can trim the excess material flush to the surface within minutes. This tool helps achieve precision cuts that improve aesthetics.
This technique is ideal for detailed projects where appearance is critical, such as custom furniture or cabinetry.
Key point: Using a trimmer can cut installation time by 30%, resulting in a more efficient workflow.
Why environmental conditions matter: Temperature and humidity can affect adhesive performance and edge banding material behavior.
Operation method: The ideal installation conditions range from 60°F to 80°F (15°C to 27°C) with humidity levels between 40%-60%. Ensure that your workspace is within these metrics before starting.
This guidance is vital for users in diverse climates, particularly those with high humidity, which can negatively affect adhesives.
Key point: Maintaining the right environmental conditions can improve adhesion success rates and elongate the lifespan of the finished product.
Why pressing matters: Correct pressure during the bonding process ensures even adhesion across the edge banding.
Operation method: Use a roller or a press to apply even pressure on the edge banding after the adhesive application. A uniform pressure of about 6-8 psi for approximately 30 seconds will create a solid bond.
This technique is recommended for both professional and amateur users who want a reliable bond without any air pockets.
Key point: Proper pressing can lead to a significant reduction in bubbles and can ensure 100% coverage of the adhesive layer.
Q: How long does PVC edge banding last?
A: Properly installed PVC edge banding can last between 10-20 years, depending on wear conditions and adhesive quality.
Q: Can I install PVC edge banding at lower temperatures?
A: It is not recommended, as lower temperatures can affect adhesion and bond strength, leading to premature failure.
Q: How do I clean PVC edge banding?
A: Regular cleaning with a damp cloth and mild detergent is sufficient to maintain its appearance.


August 10, 2026
Edge Banding Thickness Guide: 0.4mm to 3mm
August 10, 2026
Tips for Applying Edge Banding Without Peeling
August 10, 2026
Why PVC Door Bottom Seals Improve Soundproofing
August 10, 2026
PP Edge Banding Product Review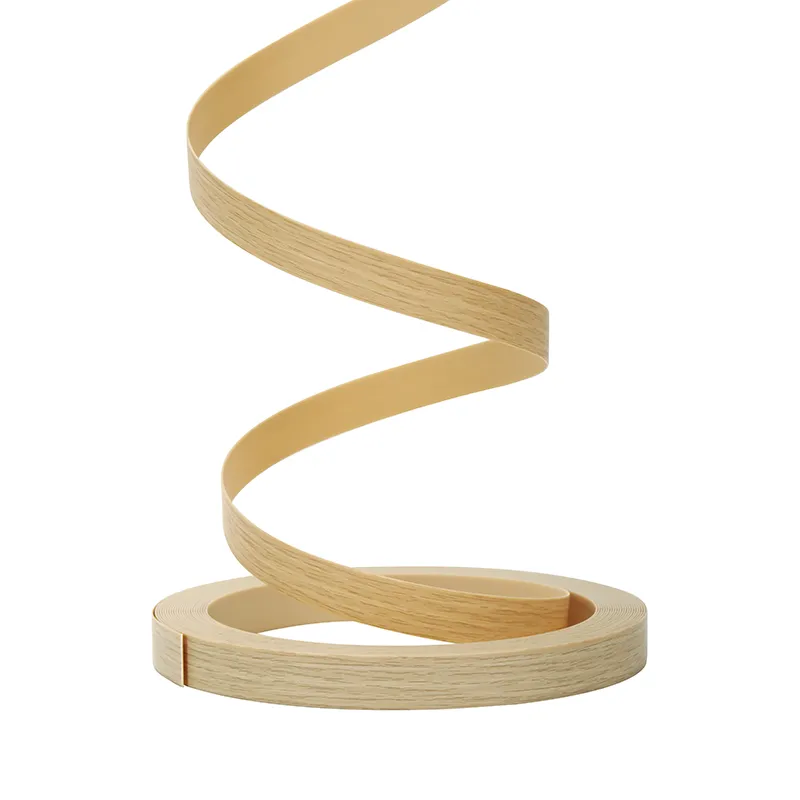
August 10, 2026
Table PVC Edge Banding Benefits for Daily Use Furniture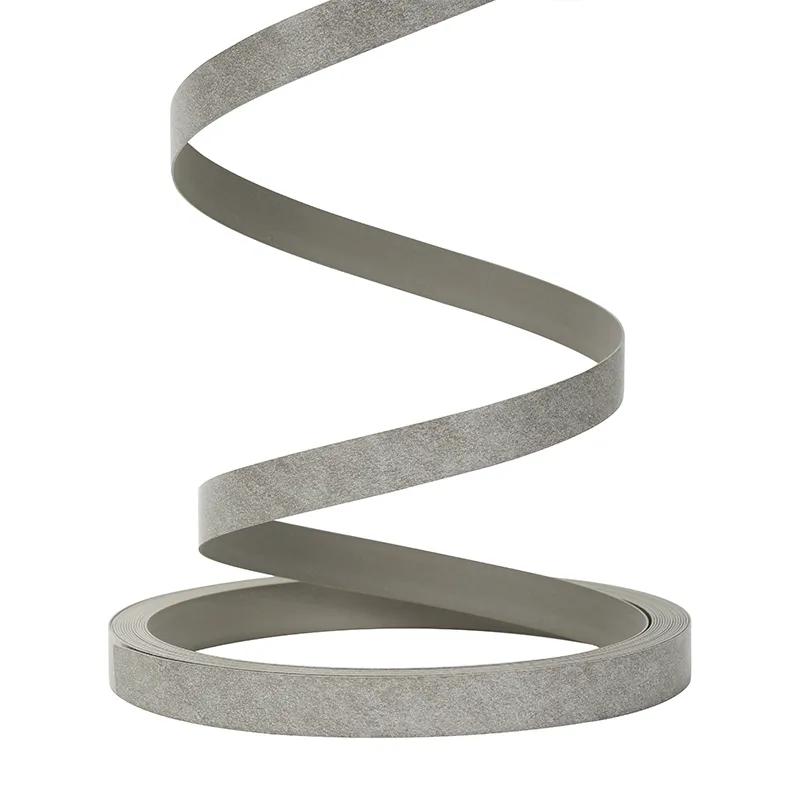
August 10, 2026
High Gloss Edge Banding vs Matte Edge Banding: What’s the Difference?
August 07, 2026
PVC Edge Banding vs Melamine Edge Banding
August 07, 2026
Tips for Processing ABS Edge Banding
August 07, 2026
PVC Door Bottom Seal Buying Guide
August 07, 2026
Cabinet PVC Edge Banding Applications in Kitchen Design