Blog
Blog
July 08, 2026
Installing high gloss edge banding can be a challenging task for both novices and seasoned builders. Issues like uneven application and adhesive failure can lead to unsightly finishes, affecting the overall look of your furniture. A smooth, flawless edge banding application not only enhances the aesthetic appeal but also protects the material underneath. In this article, we provide actionable tips that will ensure a perfect application of high gloss edge banding, saving you time and preventing costly mistakes.
High gloss edge banding is a critical component in modern woodworking, providing a seamless transition between surfaces. The installation might seem straightforward, but precision is key. Misalignment or poor adhesive application can detract from the overall visual quality. According to industry research by the Woodworking Machinery Industry Association, 82% of professionals reported a significant improvement in project aesthetics when edge banding was applied correctly. Here, we present several tips to ensure a smooth installation process, tailored to different user experiences.
Quick answer to "why": A clean, flat surface is essential for effective adhesion.
Operation method: Start by sanding the edges of your panel to a smooth finish (220-grit sandpaper is recommended). After sanding, use a damp cloth to remove dust and debris.
Best for: Beginners who may not have much experience but want to ensure their edge banding adheres properly.
Quick answer to "why": Different adhesives work better with different edge banding materials.
Operation method: For high gloss PVC edge banding, use a solvent-based adhesive for optimal bonding. Apply a thin, even layer using a brush on both the edge of the panel and the banding.
Best for: Those working with high gloss materials who need durable, long-lasting installation.
Quick answer to "why": Heat activates the adhesive, ensuring a permanent bond.
Operation method: Use an edge banding machine or an iron set to low heat. Move the tool along the banding slowly to evenly distribute the heat without scorching the material.
Best for: Experienced users comfortable with tools who want a professional finish on high gloss surfaces.
Quick answer to "why": A clean trim prevents rough edges and improves aesthetics.
Operation method: Once the banding is cooled, use a flush trim router or a sharp utility knife to trim excess material off the edges. Sand the edges lightly afterward for a smooth finish.
Best for: Any user looking to achieve clean lines and a polished look on their furniture projects.
Quick answer to "why": Proper lighting reveals any imperfections in the application.
Operation method: Use a bright utility light to examine the edges of your banding from multiple angles. Look for any gaps or inconsistencies and make necessary adjustments before the adhesive fully sets.
Best for: Detail-oriented users who want to ensure every aspect of their installation meets high standards.
Quick answer to "why": Rushing this process can compromise the bond.
Operation method: Follow the adhesive manufacturer's instructions for drying times, typically ranging from 1 to 2 hours depending on conditions. Avoid handling the project until fully cured.
Best for: Anyone wanting a durable finish without the risk of adhesives failing.
Successfully installing high gloss edge banding requires careful preparation, choice of adhesives, and execution techniques. Preparation, use of the right tools, and patience during the curing process are crucial for achieving a flawless finish. Implementing these tips can turn a potential hassle into a straightforward process, giving your projects a professional look and feel.
The best adhesive varies by material. For high gloss PVC, a solvent-based adhesive is generally recommended.
While it is possible, utilizing tools such as an edge banding machine or a heat source makes the process more efficient and results in a better finish.
Allow at least 1-2 hours for the adhesive to cure before handling the project. Always refer to the adhesive's instructions for specific guidance.
By following these nuanced tips, you can ensure a smooth installation of high gloss edge banding, elevating your woodworking projects to a level of professional craftsmanship. For inspiration and high-quality materials, check out the offerings from Chimeda.


August 10, 2026
Edge Banding Thickness Guide: 0.4mm to 3mm
August 10, 2026
Tips for Applying Edge Banding Without Peeling
August 10, 2026
Why PVC Door Bottom Seals Improve Soundproofing
August 10, 2026
PP Edge Banding Product Review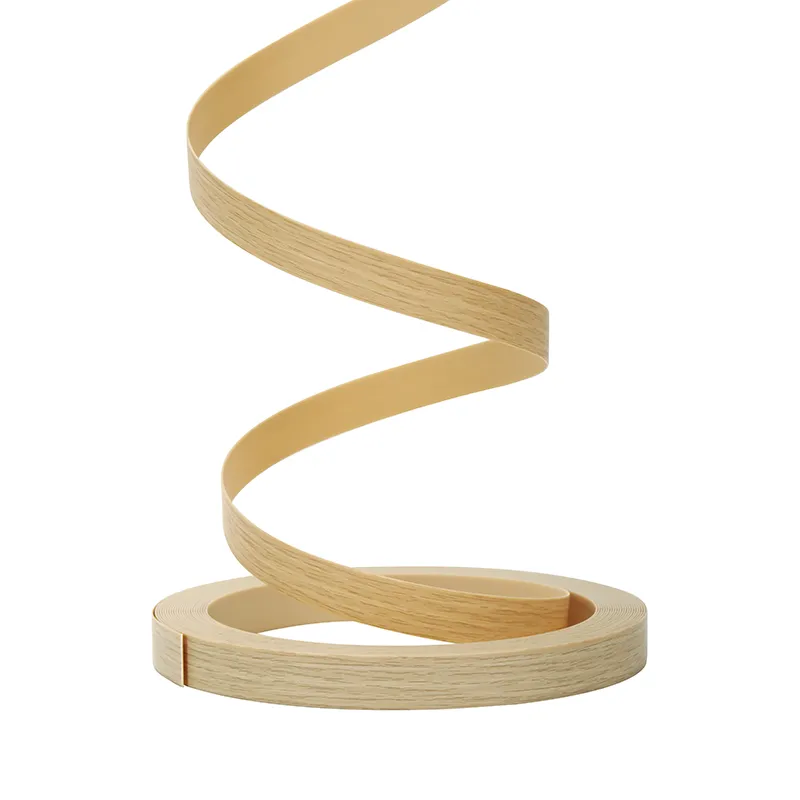
August 10, 2026
Table PVC Edge Banding Benefits for Daily Use Furniture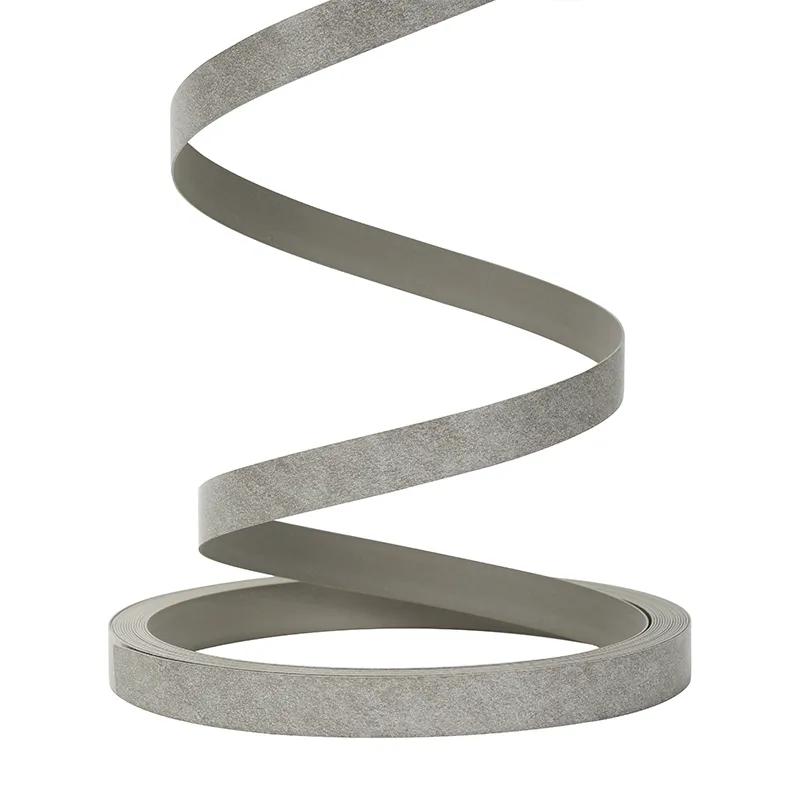
August 10, 2026
High Gloss Edge Banding vs Matte Edge Banding: What’s the Difference?
August 07, 2026
PVC Edge Banding vs Melamine Edge Banding
August 07, 2026
Tips for Processing ABS Edge Banding
August 07, 2026
PVC Door Bottom Seal Buying Guide
August 07, 2026
Cabinet PVC Edge Banding Applications in Kitchen Design