Blog
Blog
September 21, 2026
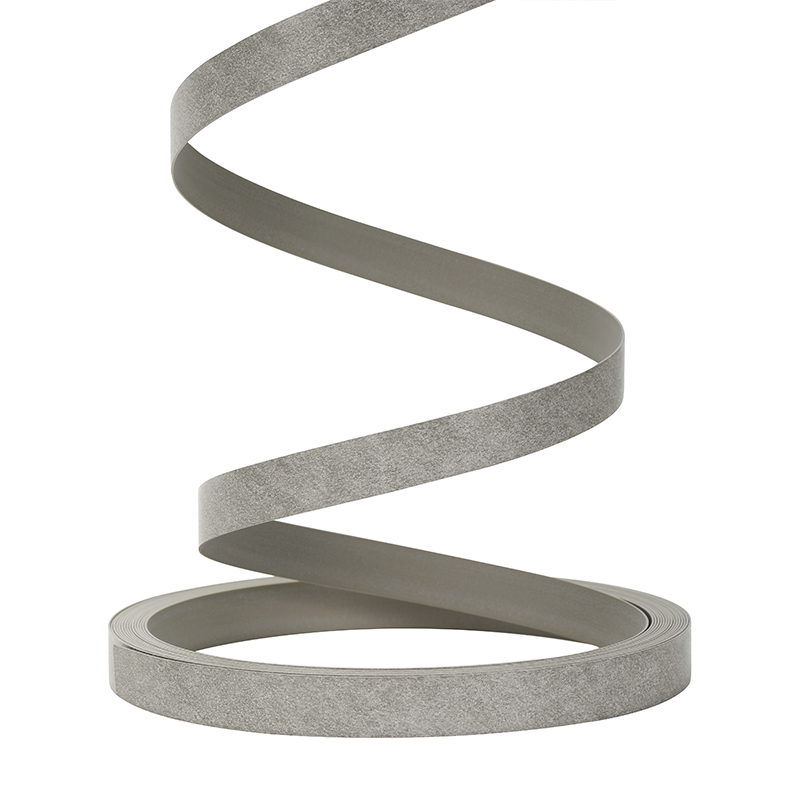
Applying PP Edge Banding can significantly enhance the durability and aesthetic appeal of your furniture. If you're wondering how to master this technique, you’ve landed in the right place. I promise to provide you with clear, actionable steps that make the process simple and efficient, ensuring you achieve that professional finish you seek with chimeda's high-quality materials.
PP edge banding, a polypropylene-based tape, offers a robust solution for sealing the raw edges of particleboard, MDF, and plywood surfaces. Its advantages include high resistance to moisture and UV light, giving your furniture both durability and attractiveness. To ensure you achieve a perfect application, I’ll guide you through a straightforward process, backed by proven methods and tools.
Before you start, ensure you have the following tools ready:
Having these materials on hand will streamline your application process.
Precision is key. Measure the length of the edge you wish to cover accurately to the nearest 0.01mm. Once measured, cut the PP edge banding strips slightly longer than needed (about 2-3mm). This slight overage allows for trimming later.
Depending on the type of edge banding you’ve selected, either apply hot melt glue evenly along the edge or prepare your surface for adhesive tape application. Ensure the adhesive covers the entire edge, maintaining a uniform thickness.
Position the cut edge banding over the raw edge. If you’re using an iron, apply gentle heat evenly while pressing down the banding to activate the adhesive. This step requires careful movement to avoid burns or uneven application. If using tape, press firmly with a roller to ensure a strong bond.
Once the edge banding is applied and cooled (if using heat), it's time to trim off the excess. A properly designed edge banding trimmer will provide a clean cut. Remember, it’s important to maintain the aesthetic quality, so ensure your cut is even.
Finally, smooth out the edges with a sander or block plane. This step helps eliminate any roughness and ensures your edge banding blends seamlessly with the substrate.
While applying PP edge banding is relatively straightforward, some challenges may arise. Common issues include adhesive failure or misalignment of the banding. To overcome these:
For those looking to further improve their PP edge banding application, consider utilizing professional tools from Chimeda that ensure higher precision and speed. Their solutions guarantee adherence to quality standards while reducing production time.
In summary, mastering the application of PP edge banding involves prep work, precise measuring, appropriate tooling, and quality execution. By following the outlined steps diligently, you can achieve a professional finish that not only enhances the appearance of your furniture but also addresses durability and moisture resistance.
Don't let the complexities of edge banding deter you! Start your project today with comfort, knowing that with Chimeda's edge banding solutions and our step-by-step guide, you’re well on your way to creating beautifully finished furniture.
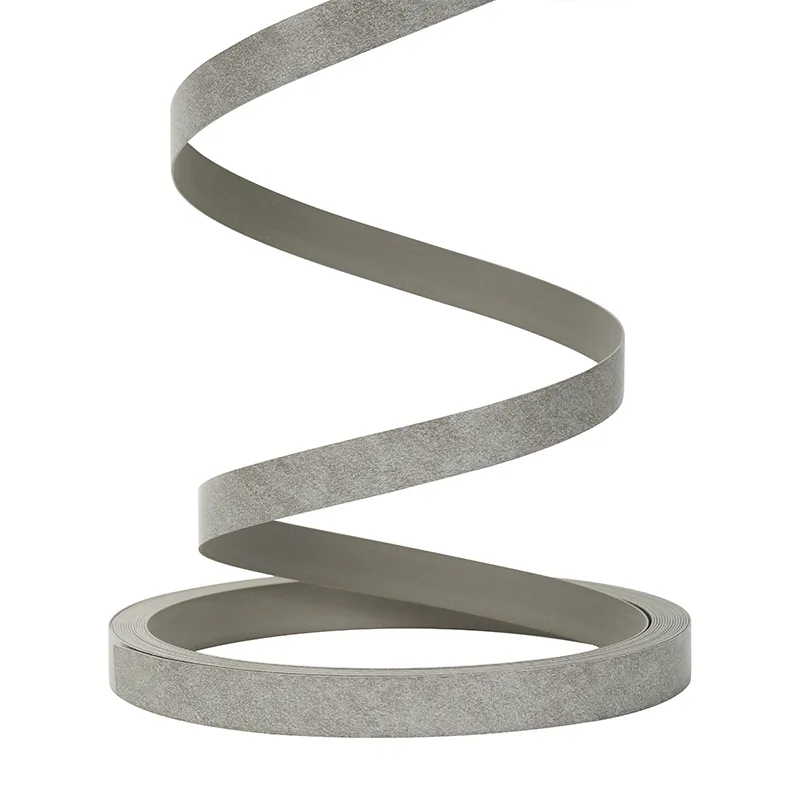
For visuals that can aid your process, check out this image here. Let's elevate your craftsmanship!


September 21, 2026
How to Apply PP Edge Banding for a Professional Finish
September 21, 2026
TPE Sealing Strips vs PVC Door Bottom Seal: Key Differences Explained
September 17, 2026
Can pu foam sealant be used for sealing around ducts?August 31, 2026
PP Edge Banding vs ABS Edge BandingAugust 28, 2026
Top PP Edge Banding Applications in FurnitureAugust 27, 2026
Top Features to Look for in Edge Banding ProductsAugust 26, 2026
Top PVC Edge Banding Colors for Modern FurnitureAugust 25, 2026
Edge Banding Quality Review for Furniture BuyersAugust 24, 2026
TPE Sealing Strip vs PVC Sealing StripAugust 24, 2026
Top PVC Edge Banding Design Trends